

Updated 1/13/2026

WHAT ARE WE MAKING?
In this free crochet pattern, we are making the Snow Capped Throw. This surprisingly quick blanket is rated intermediate because there are post stitches, but it's easier than you might think, and with the help of our videos and Fun with Furls FB group, I know you can do it!

Supplies Needed:
- Yarn: 2,142 Yards of size 5 Bulky / Chunky Yarn (Pattern used 14 balls of Lion Brand Wool-Ease Chunky, which is a discontinued Bulky weight yarn)
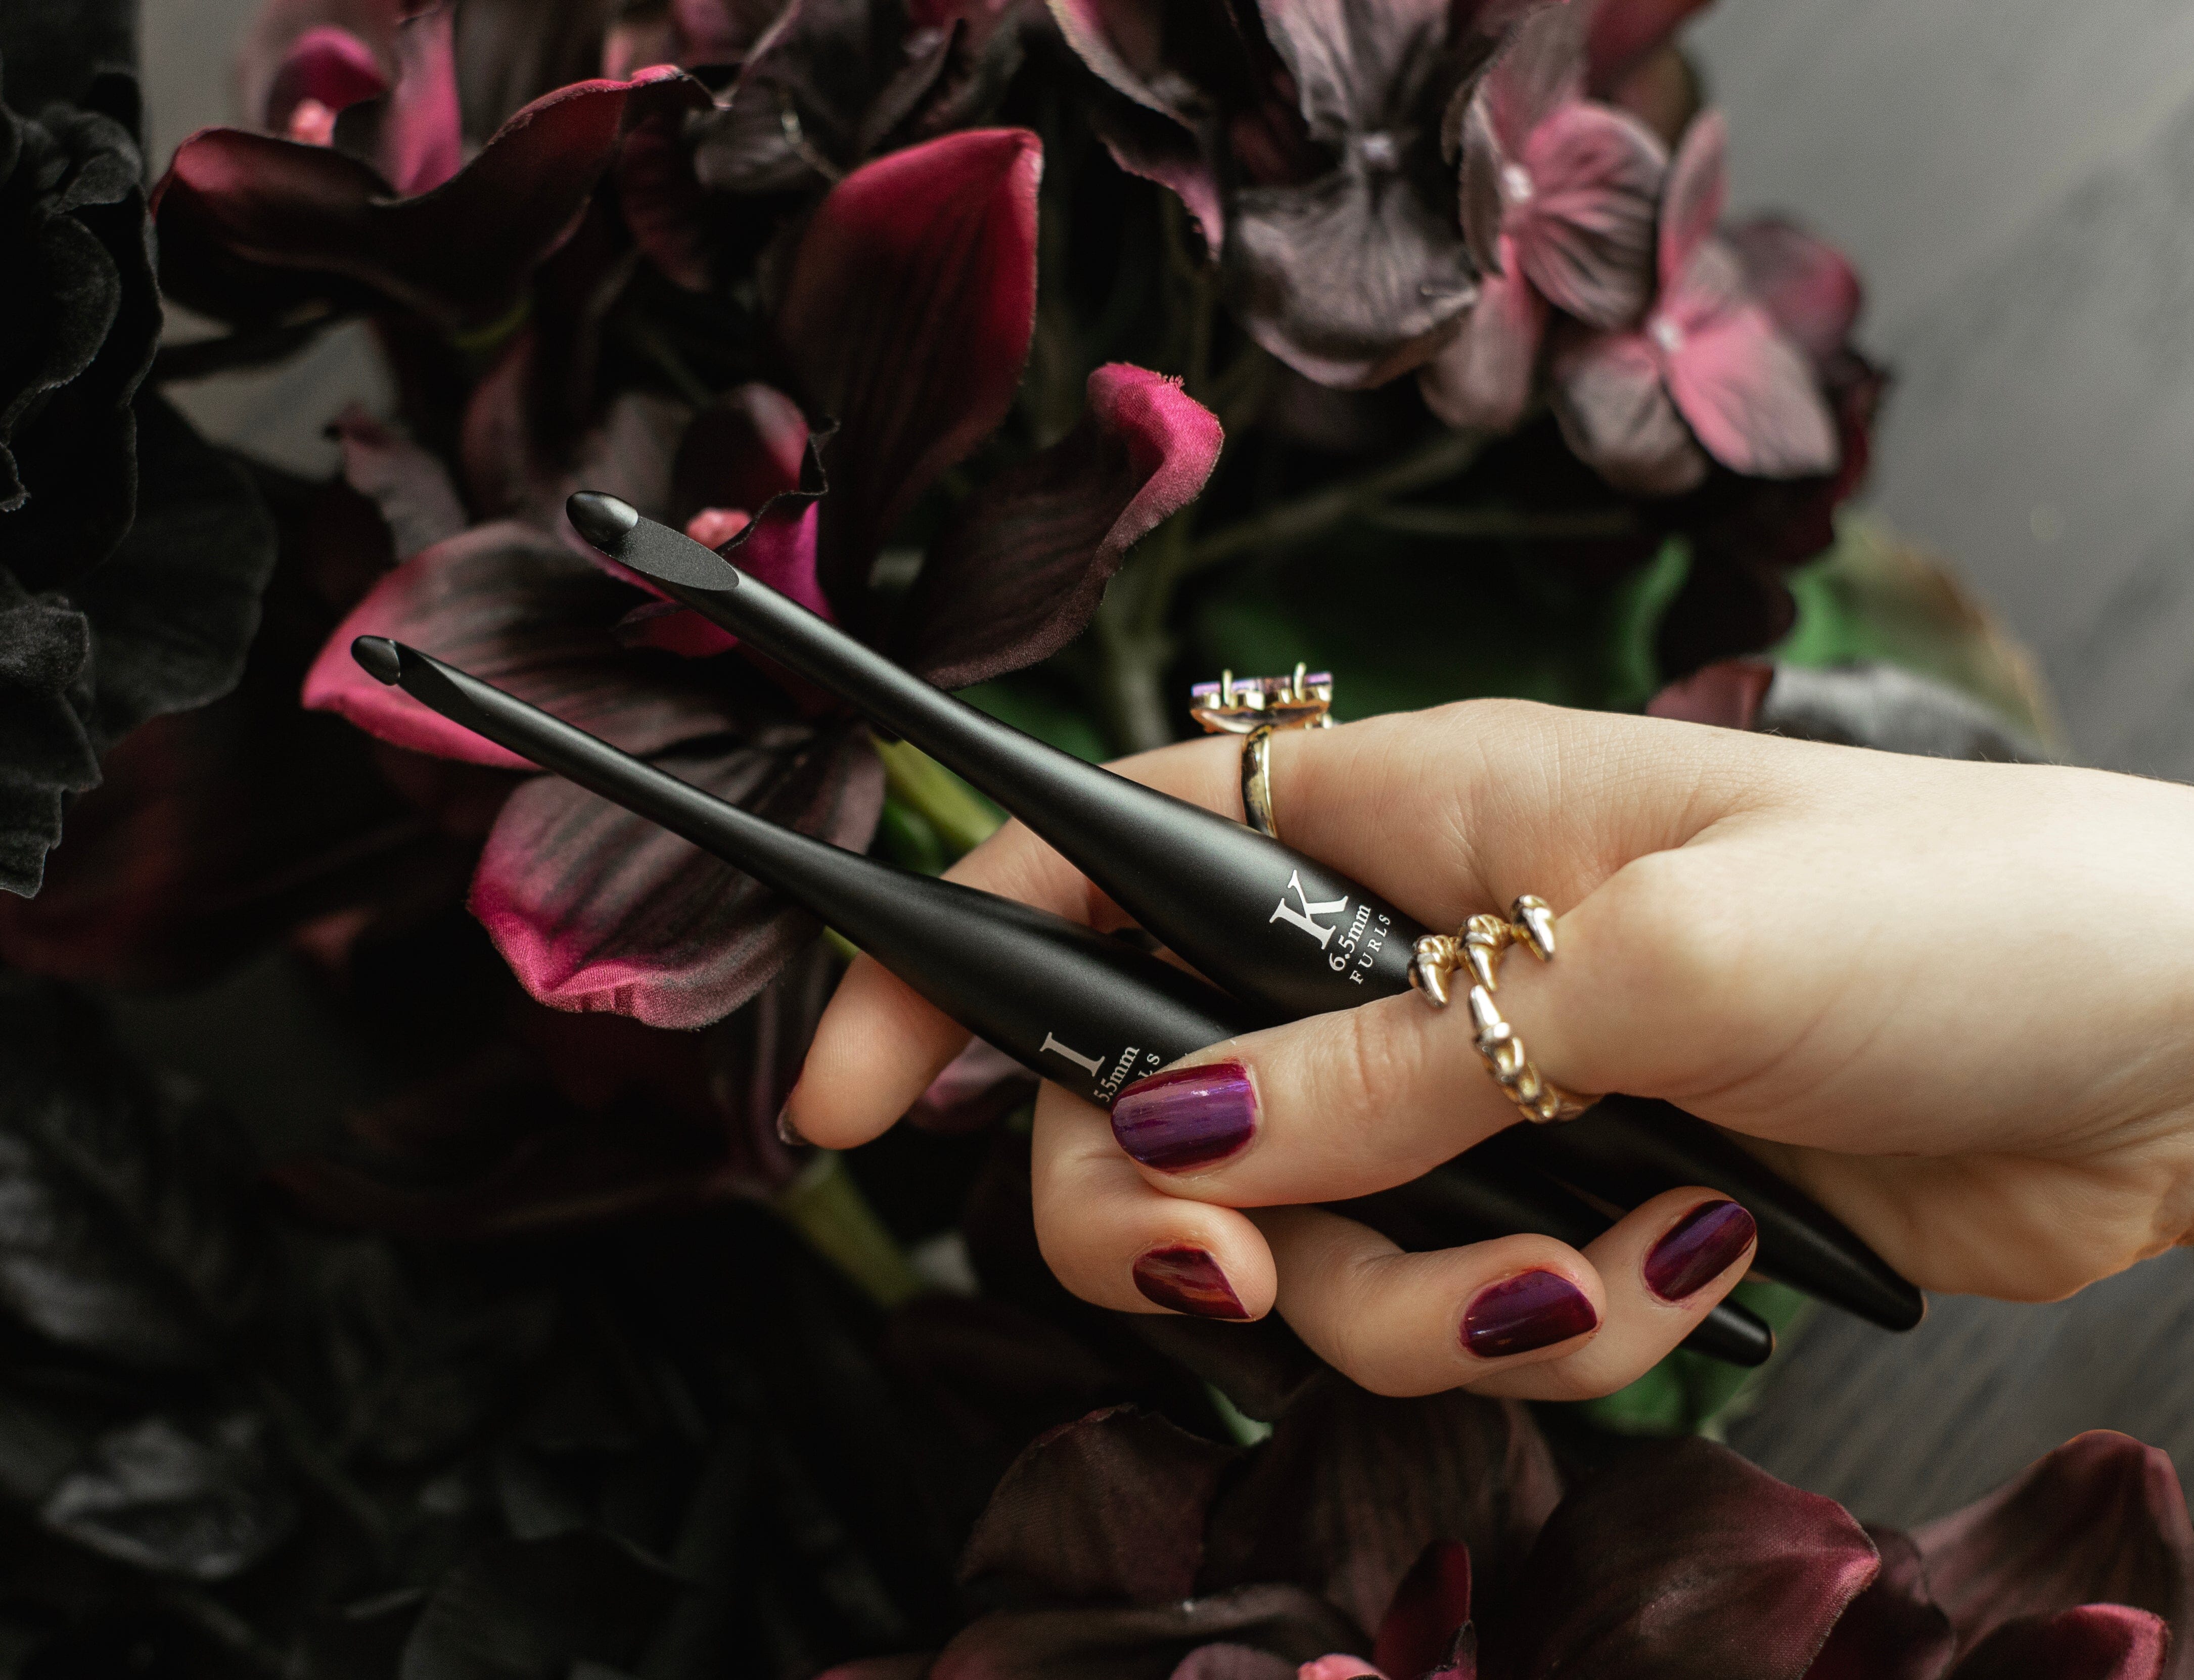
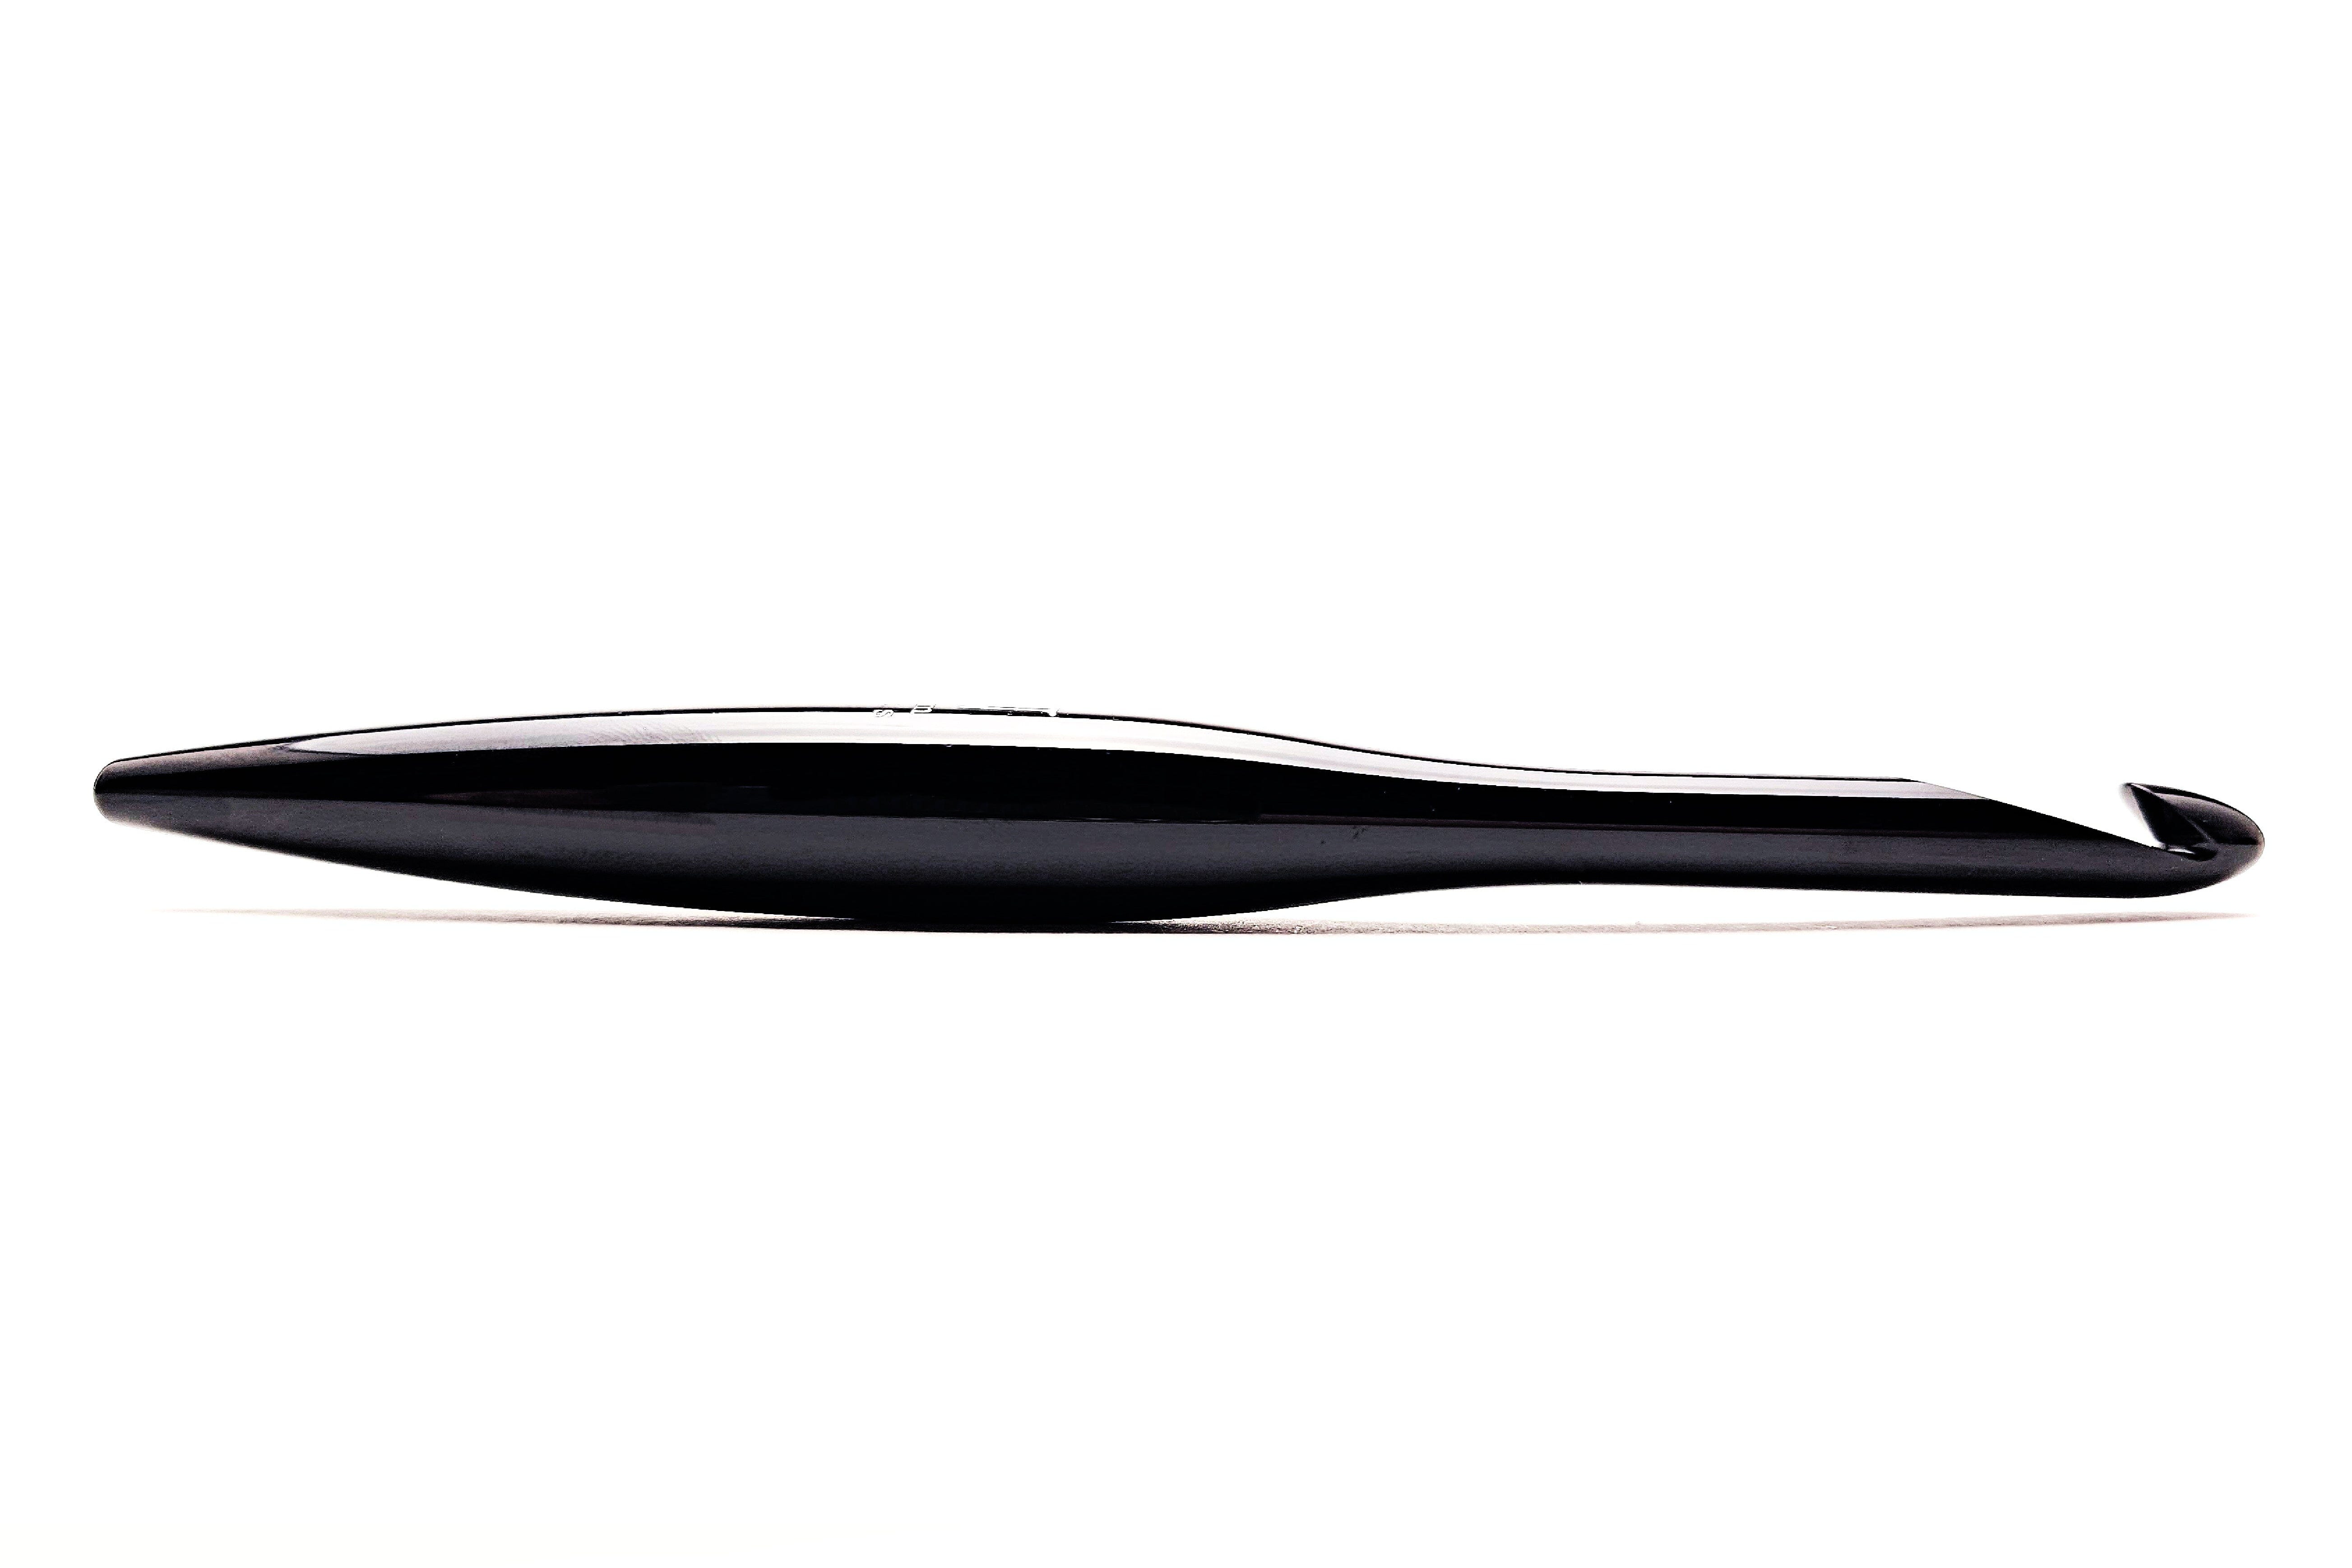
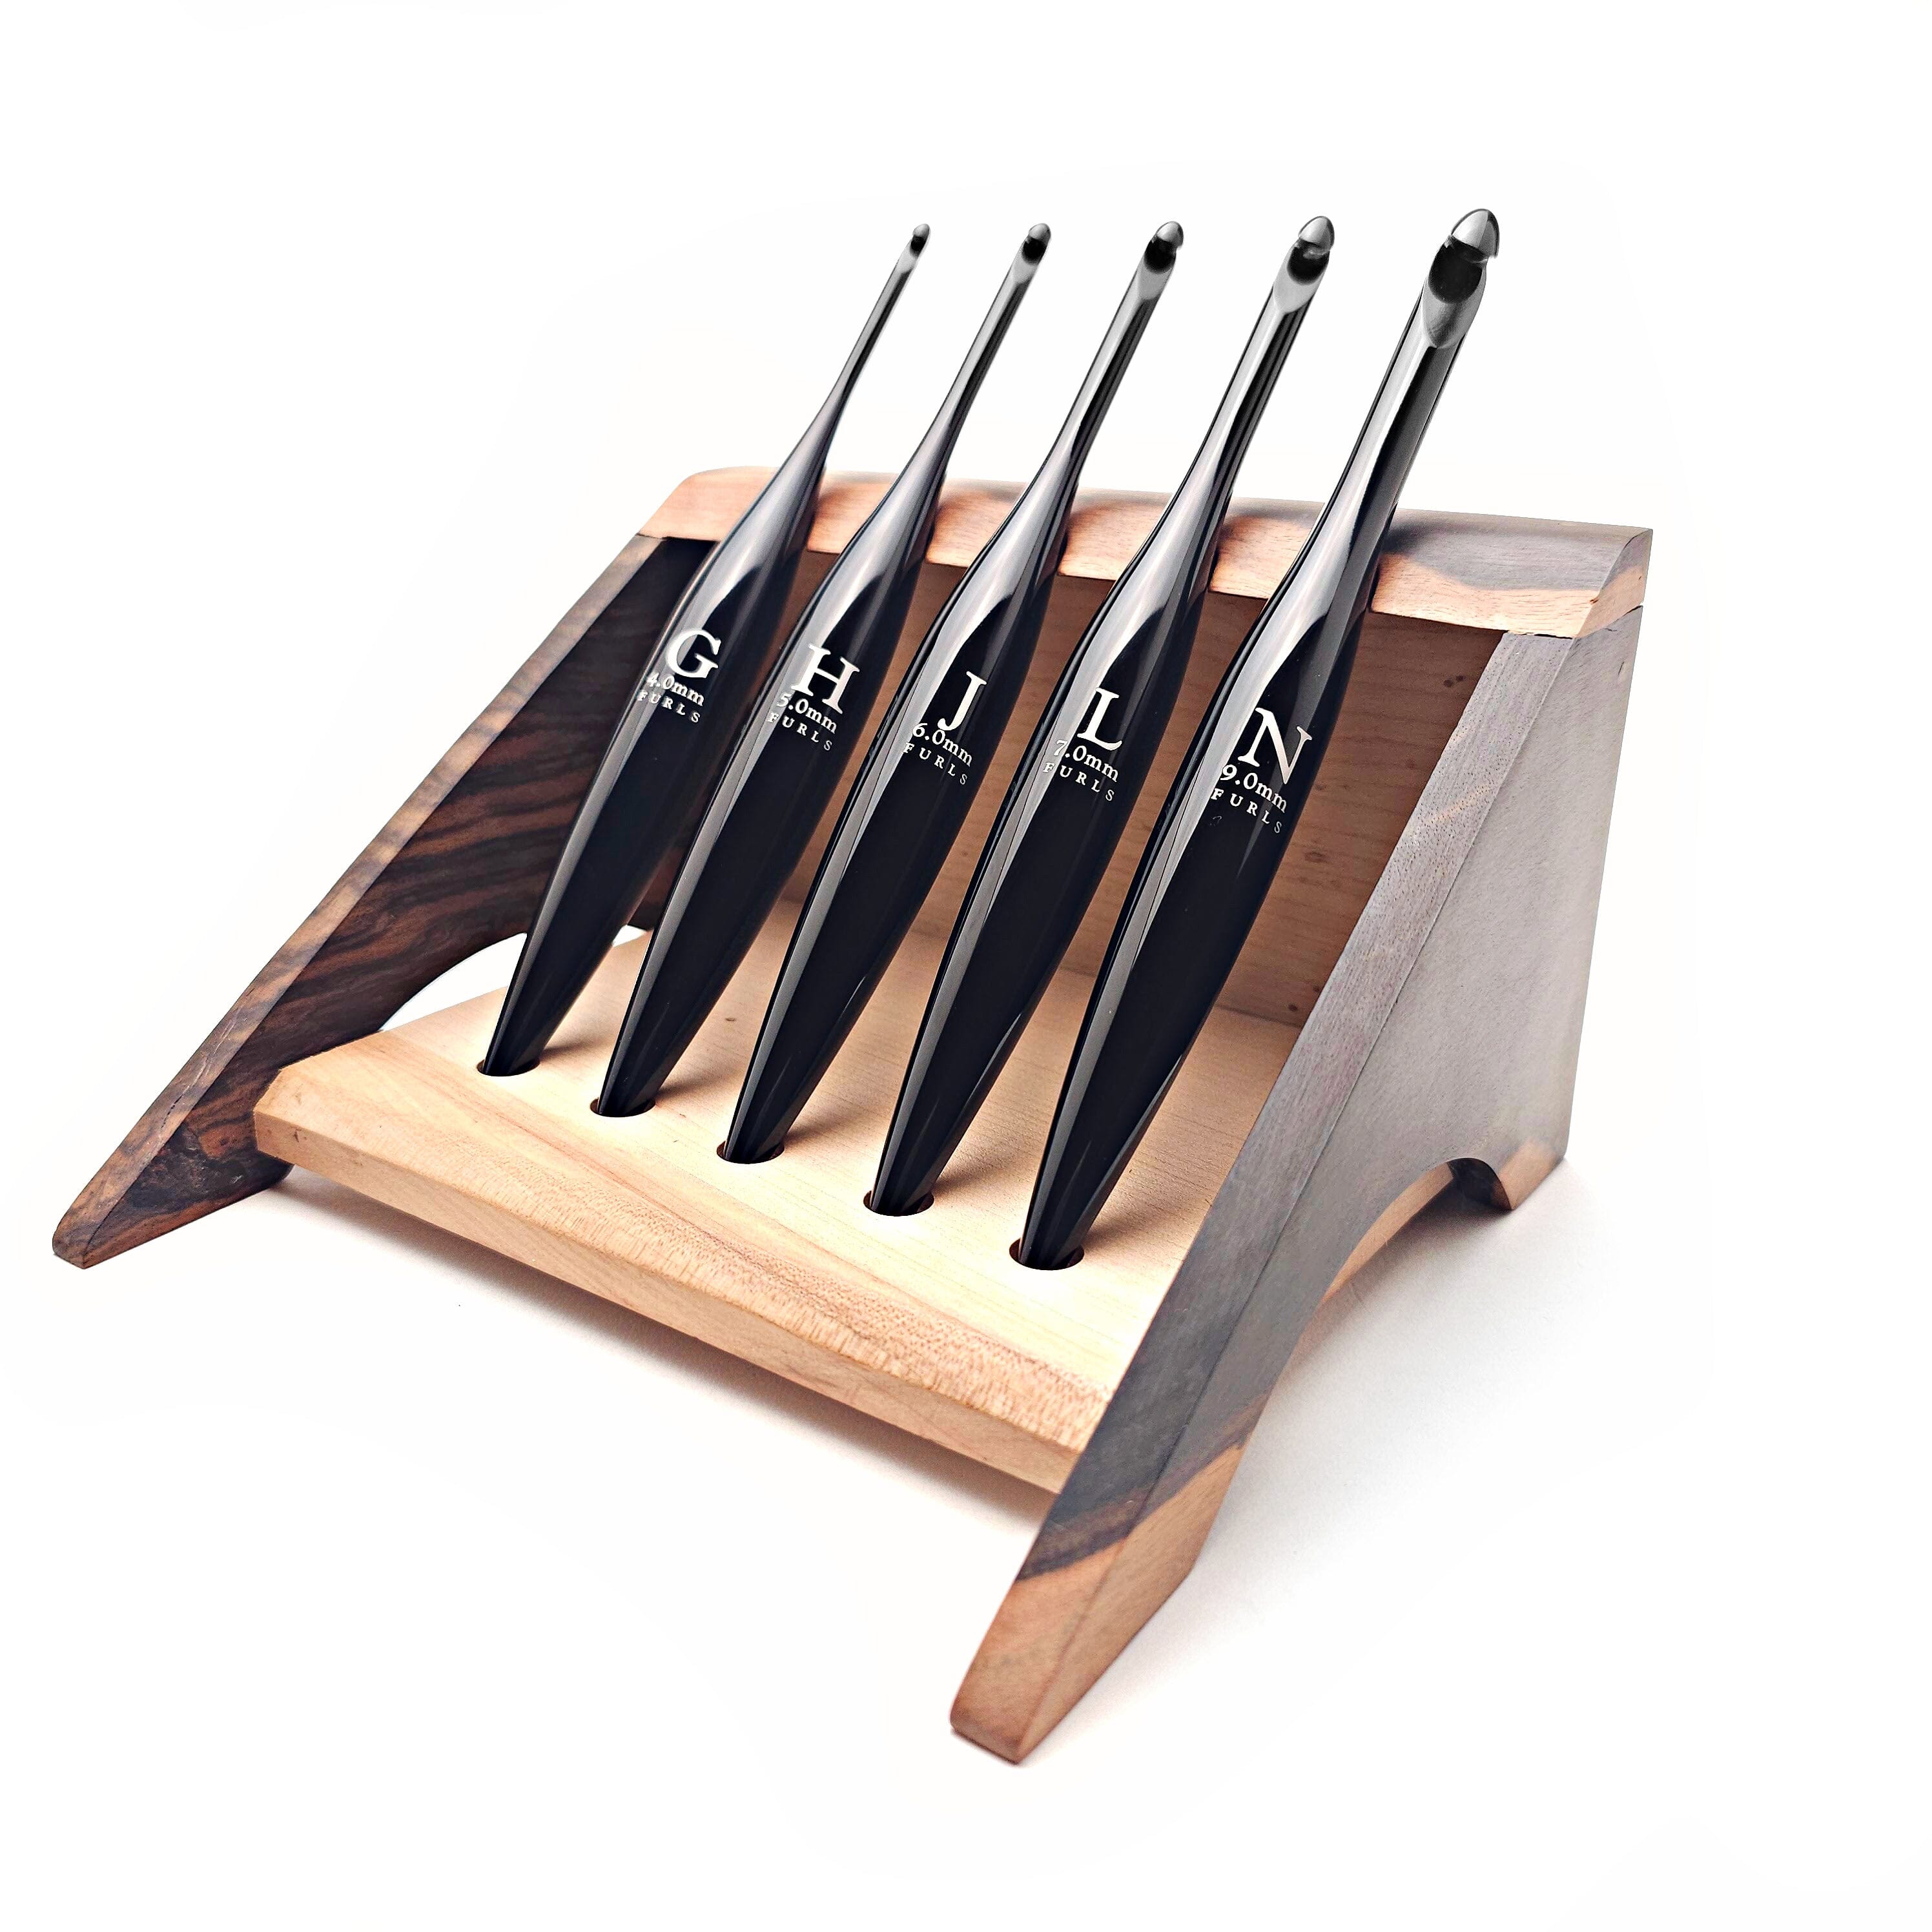
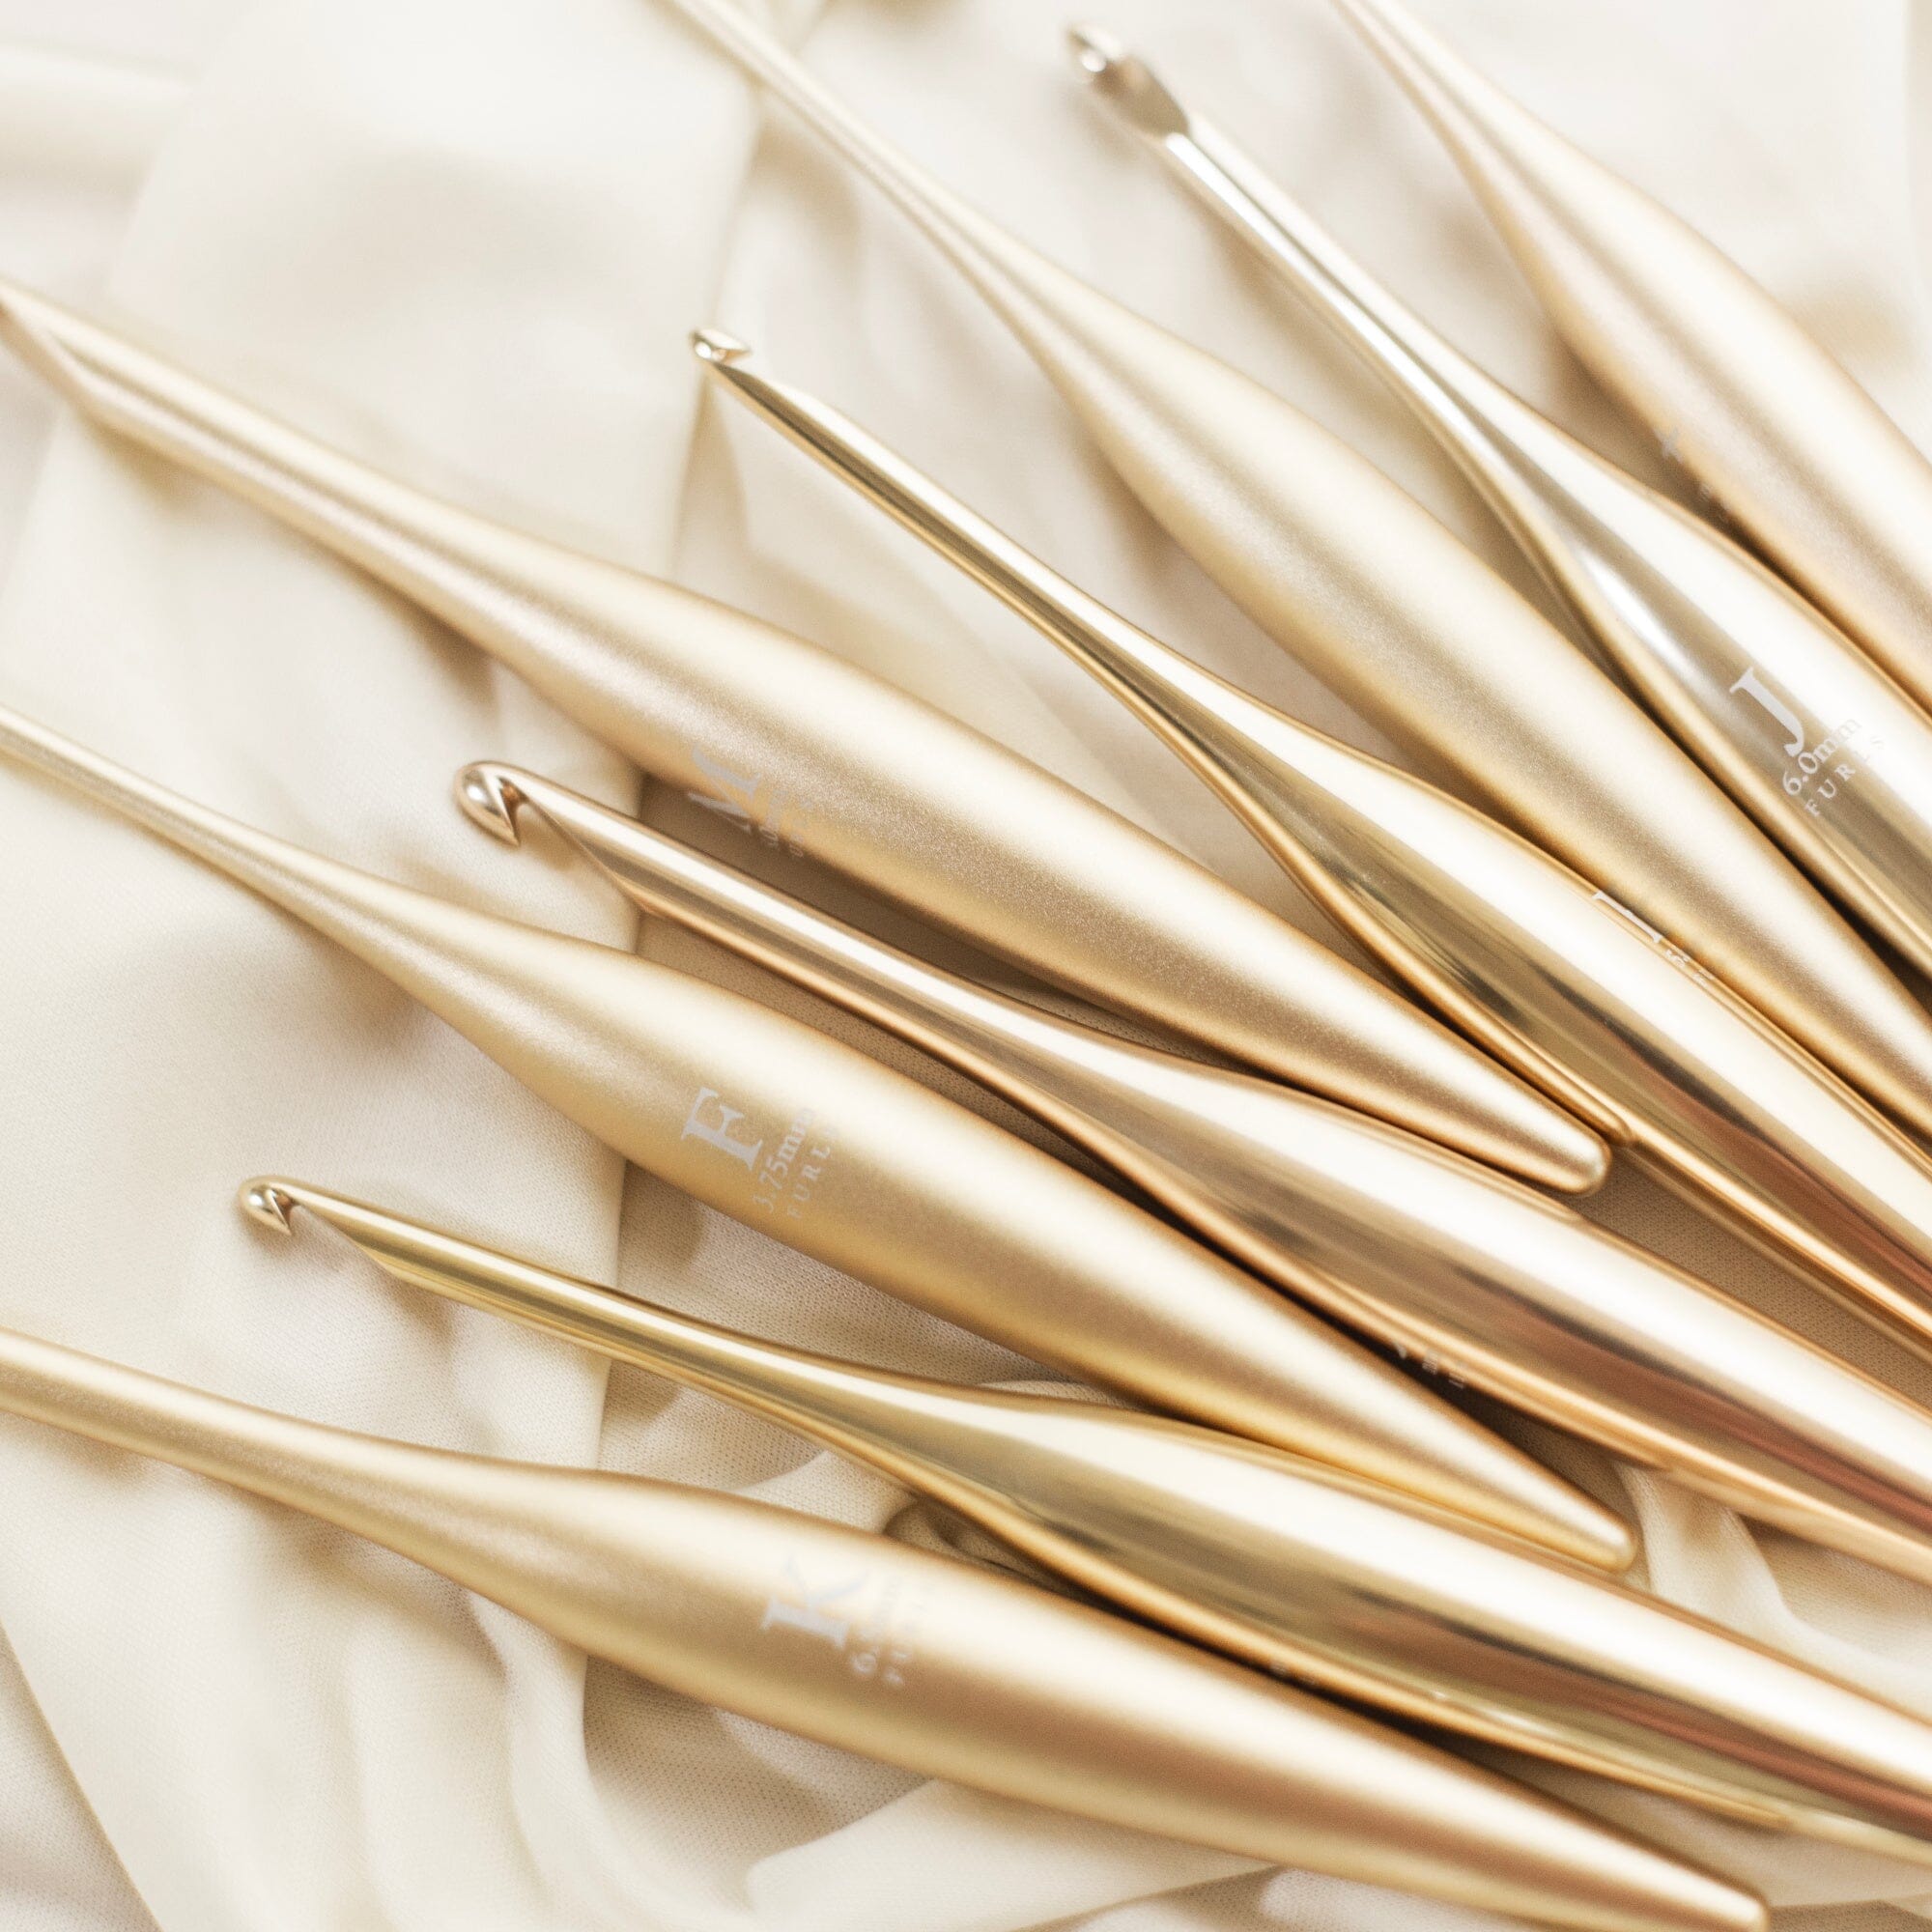
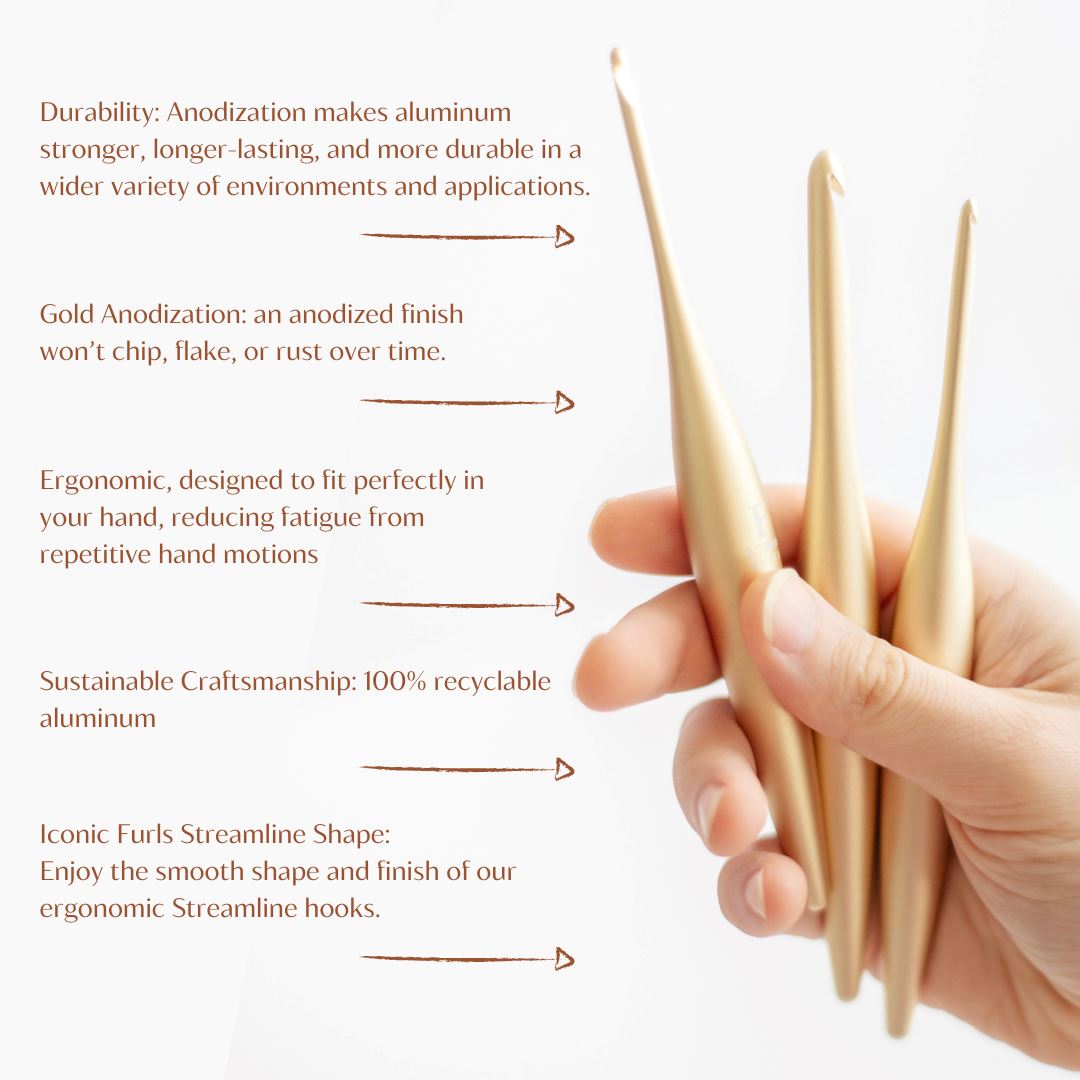
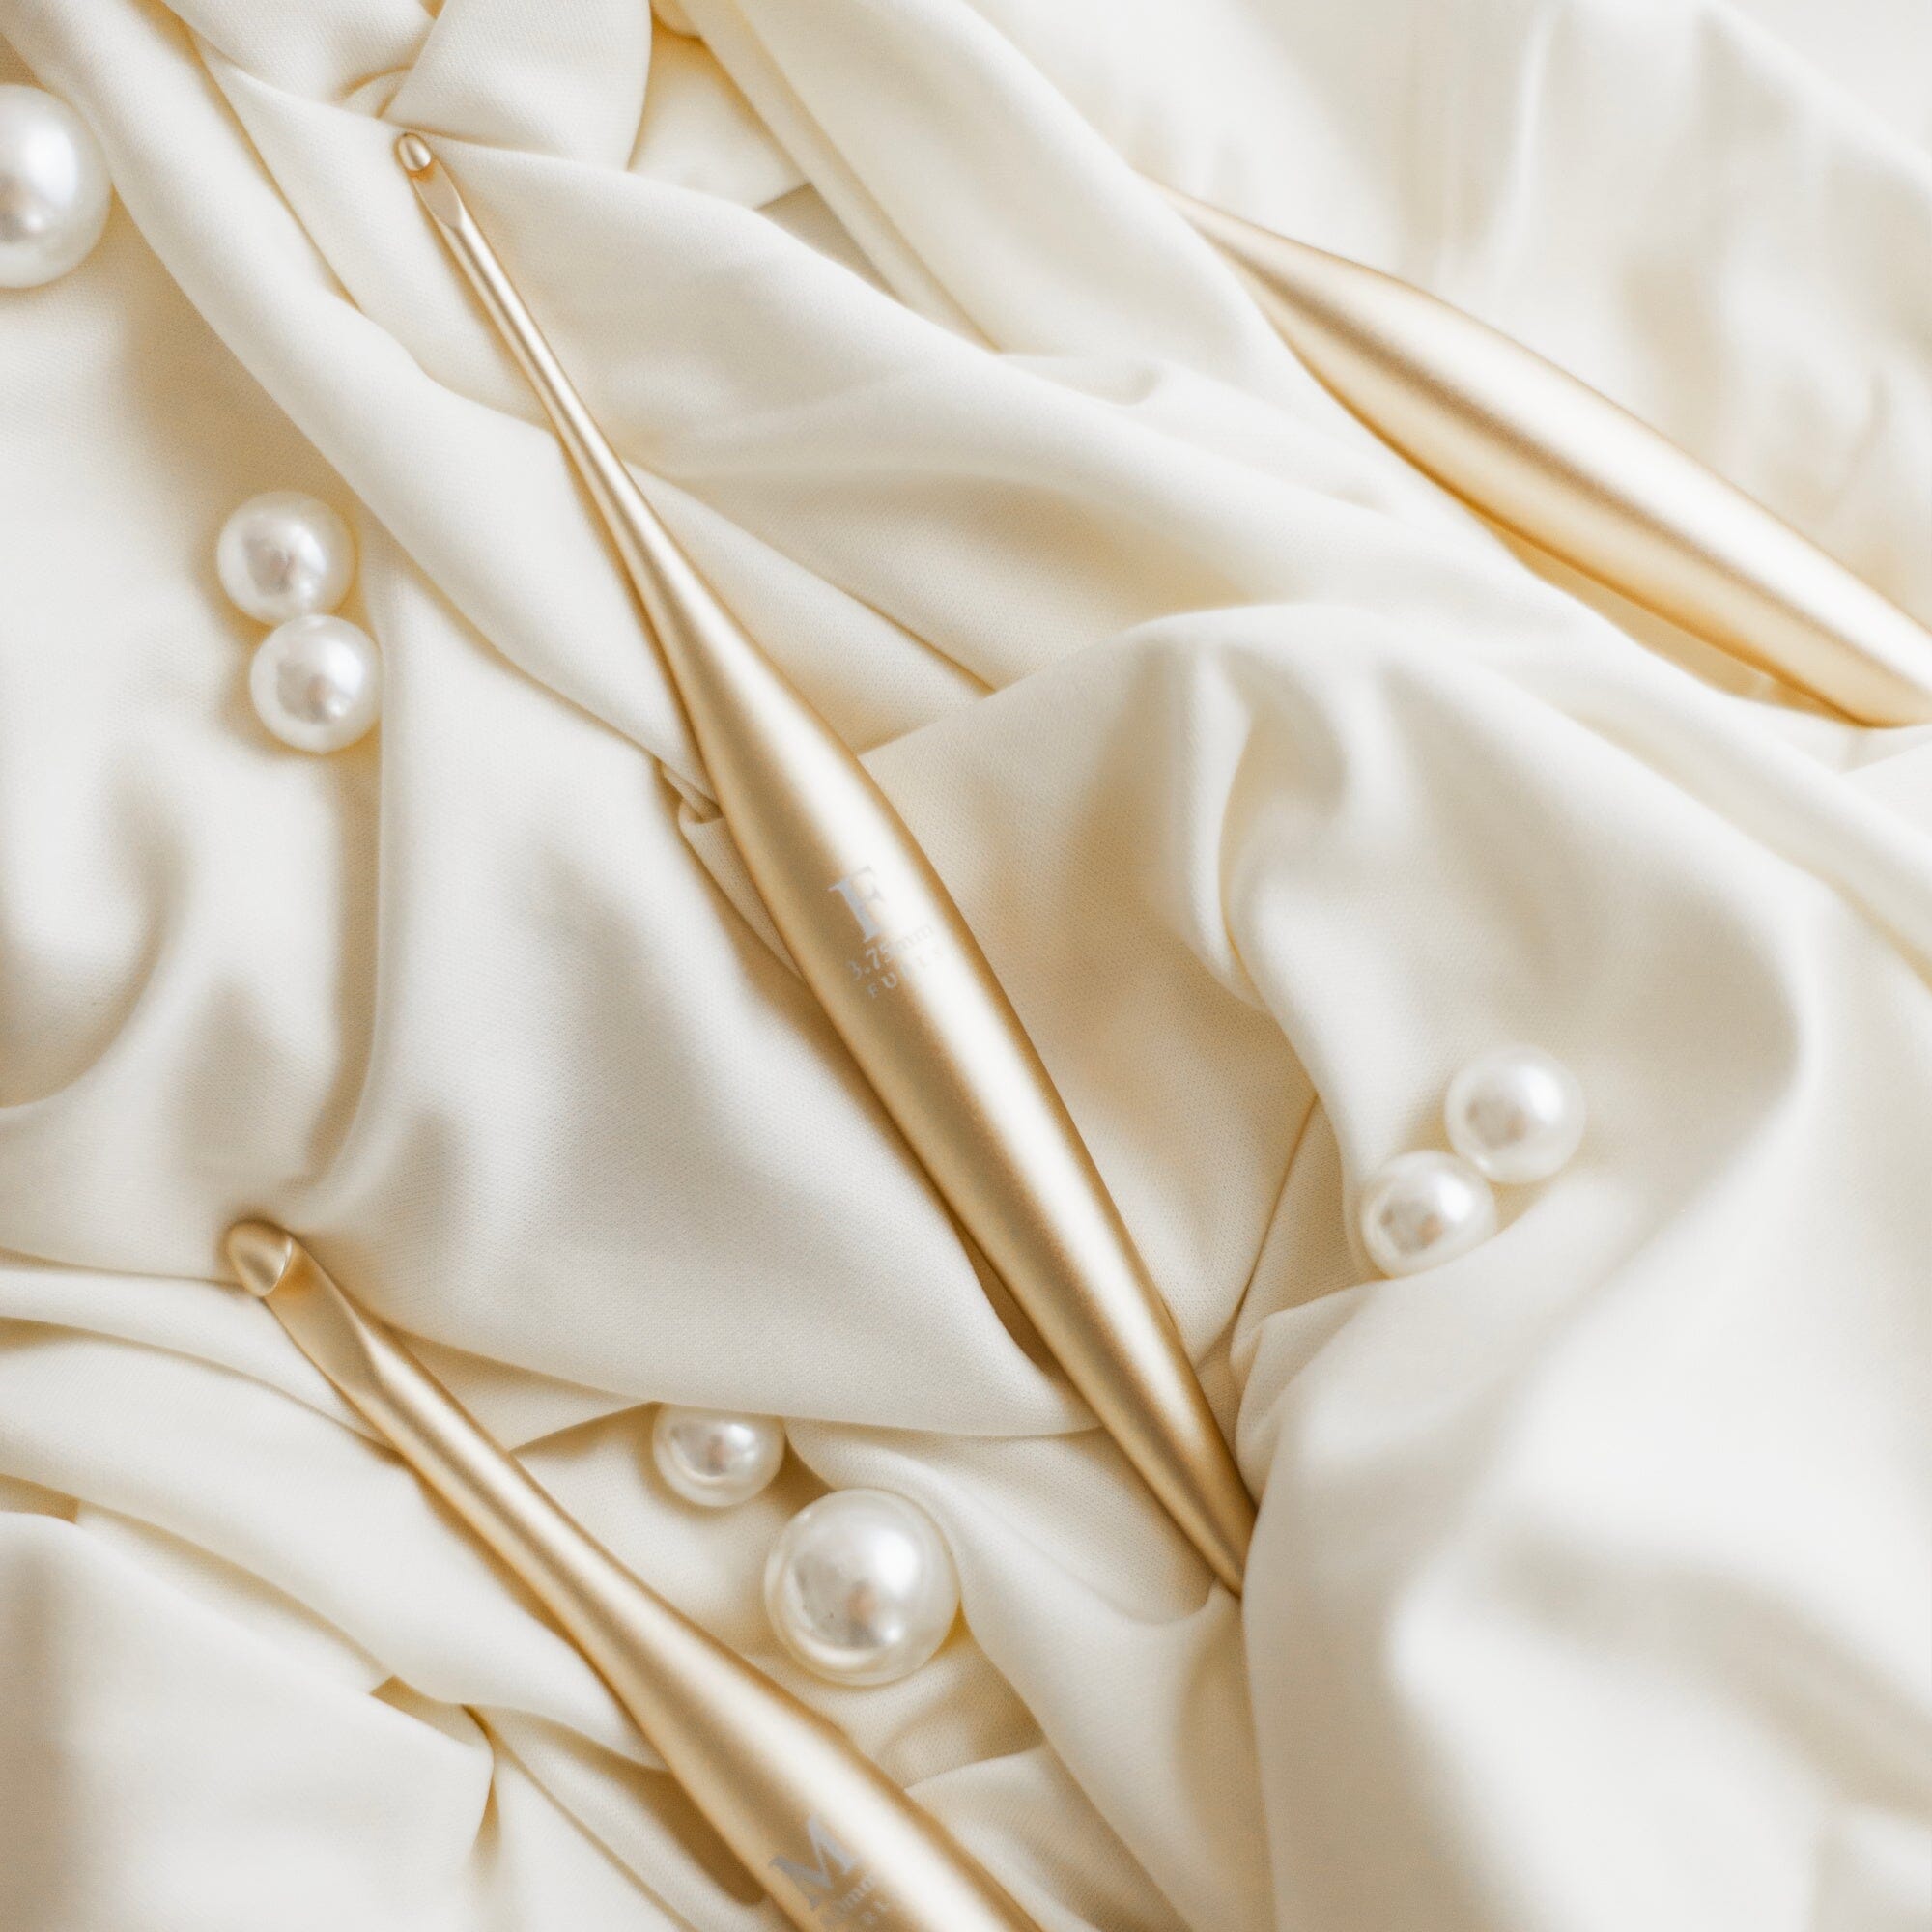
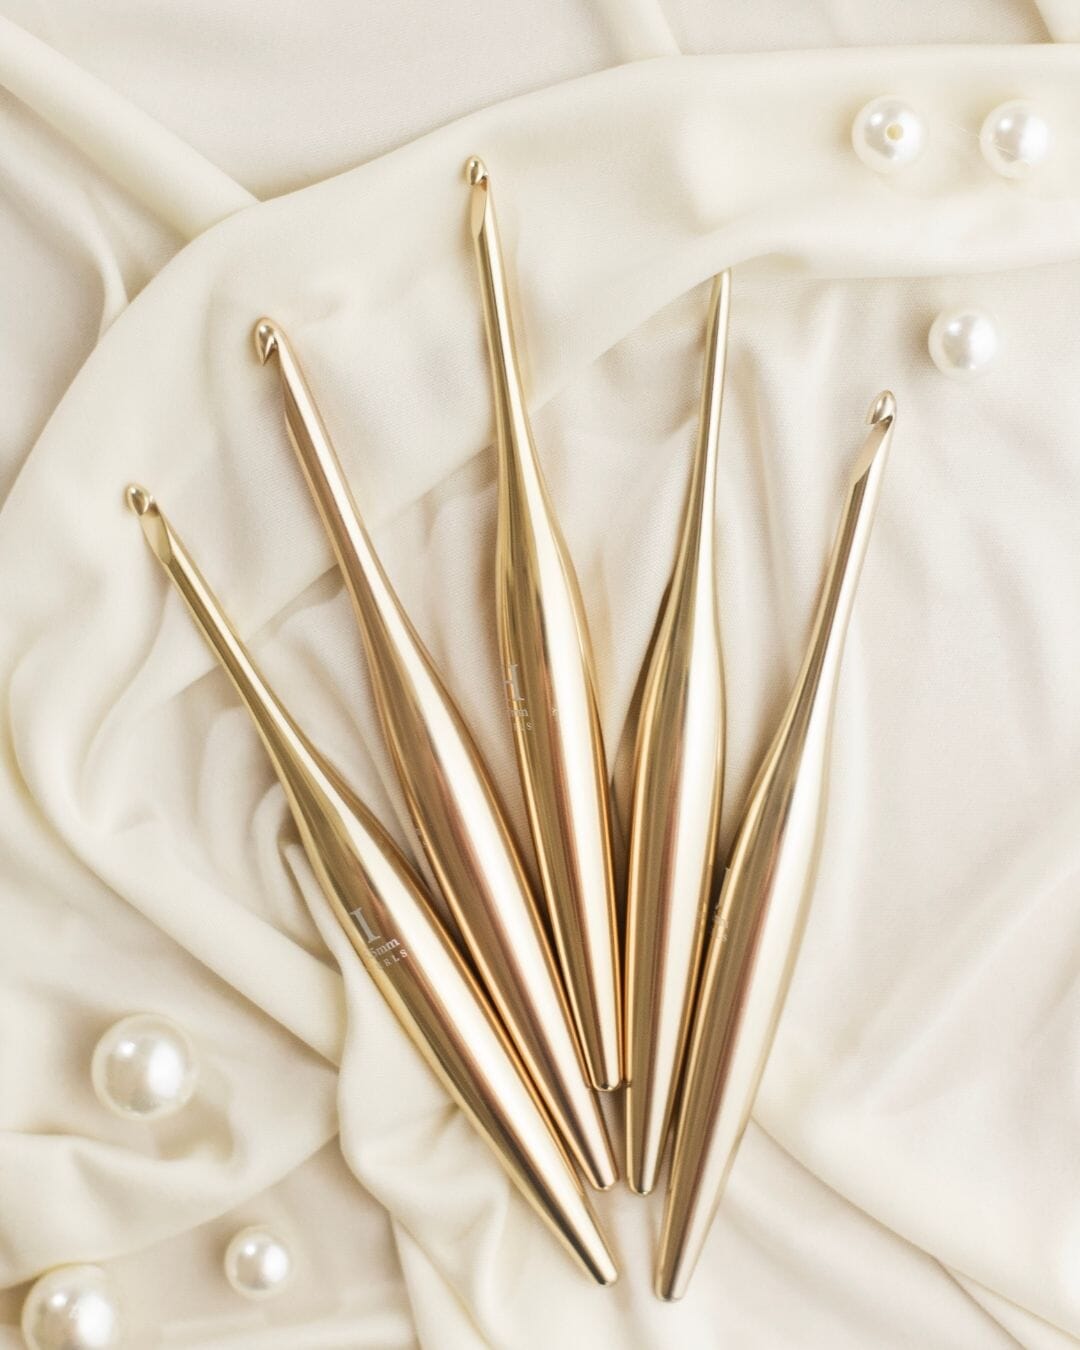
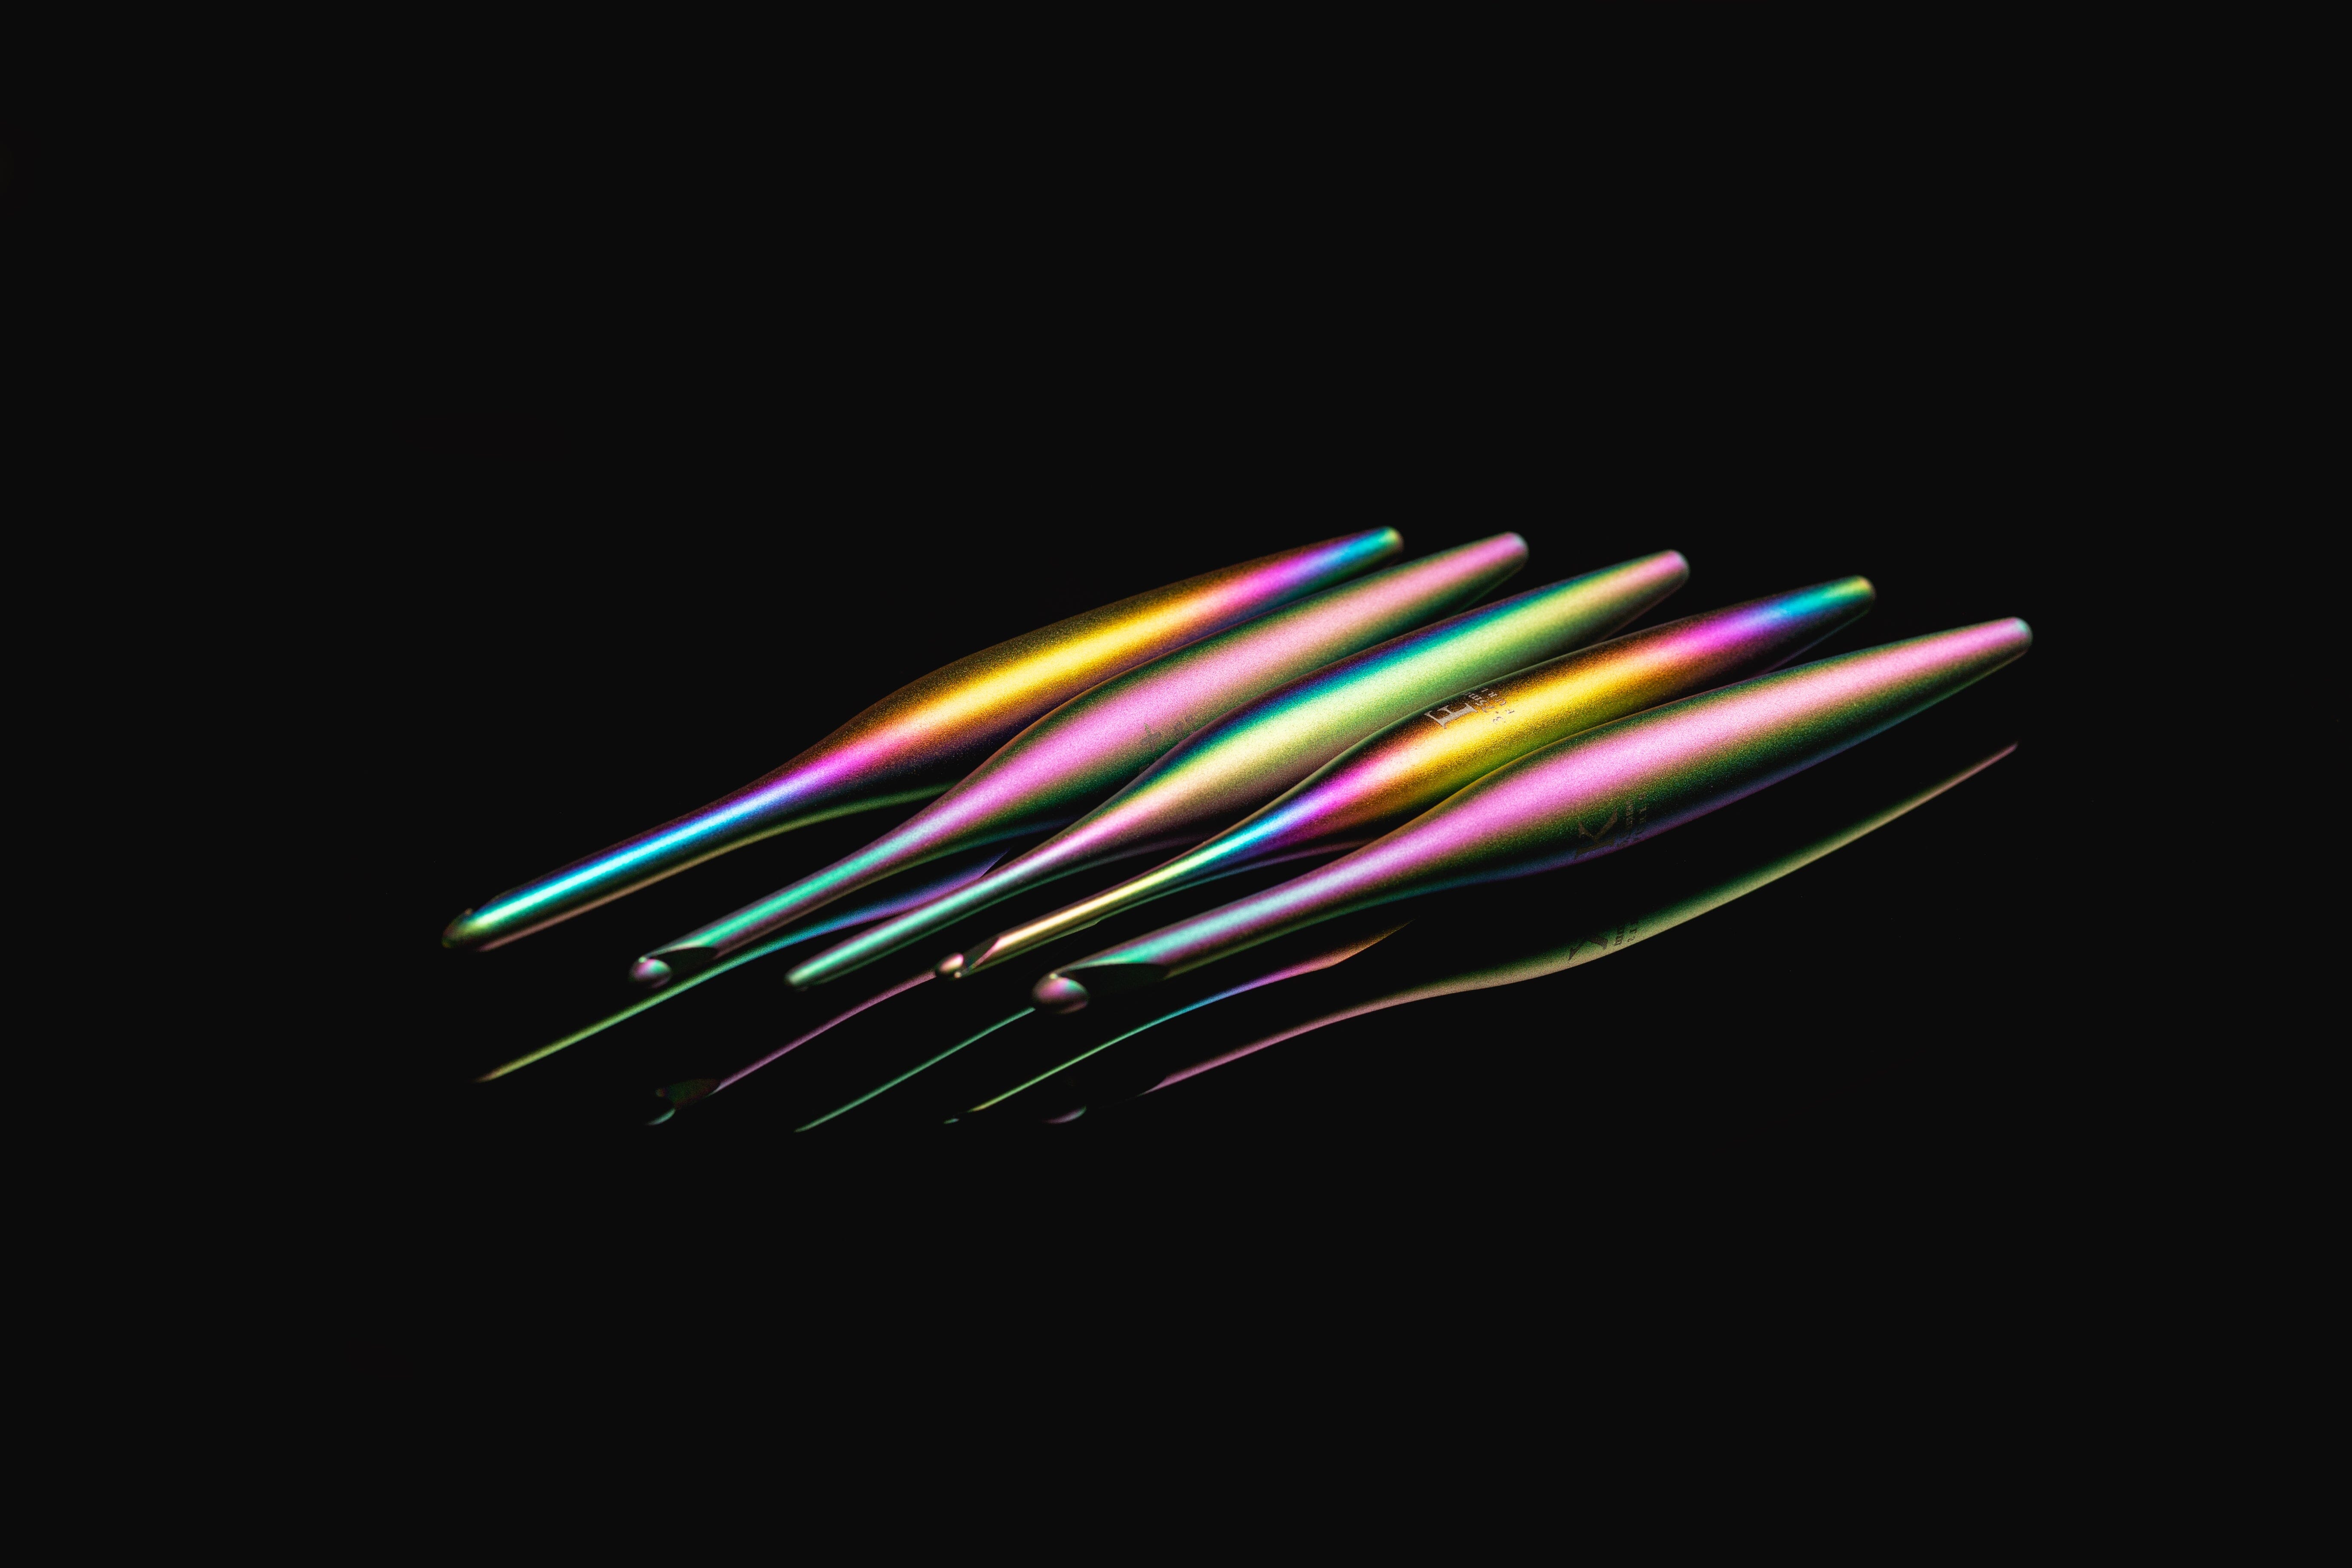
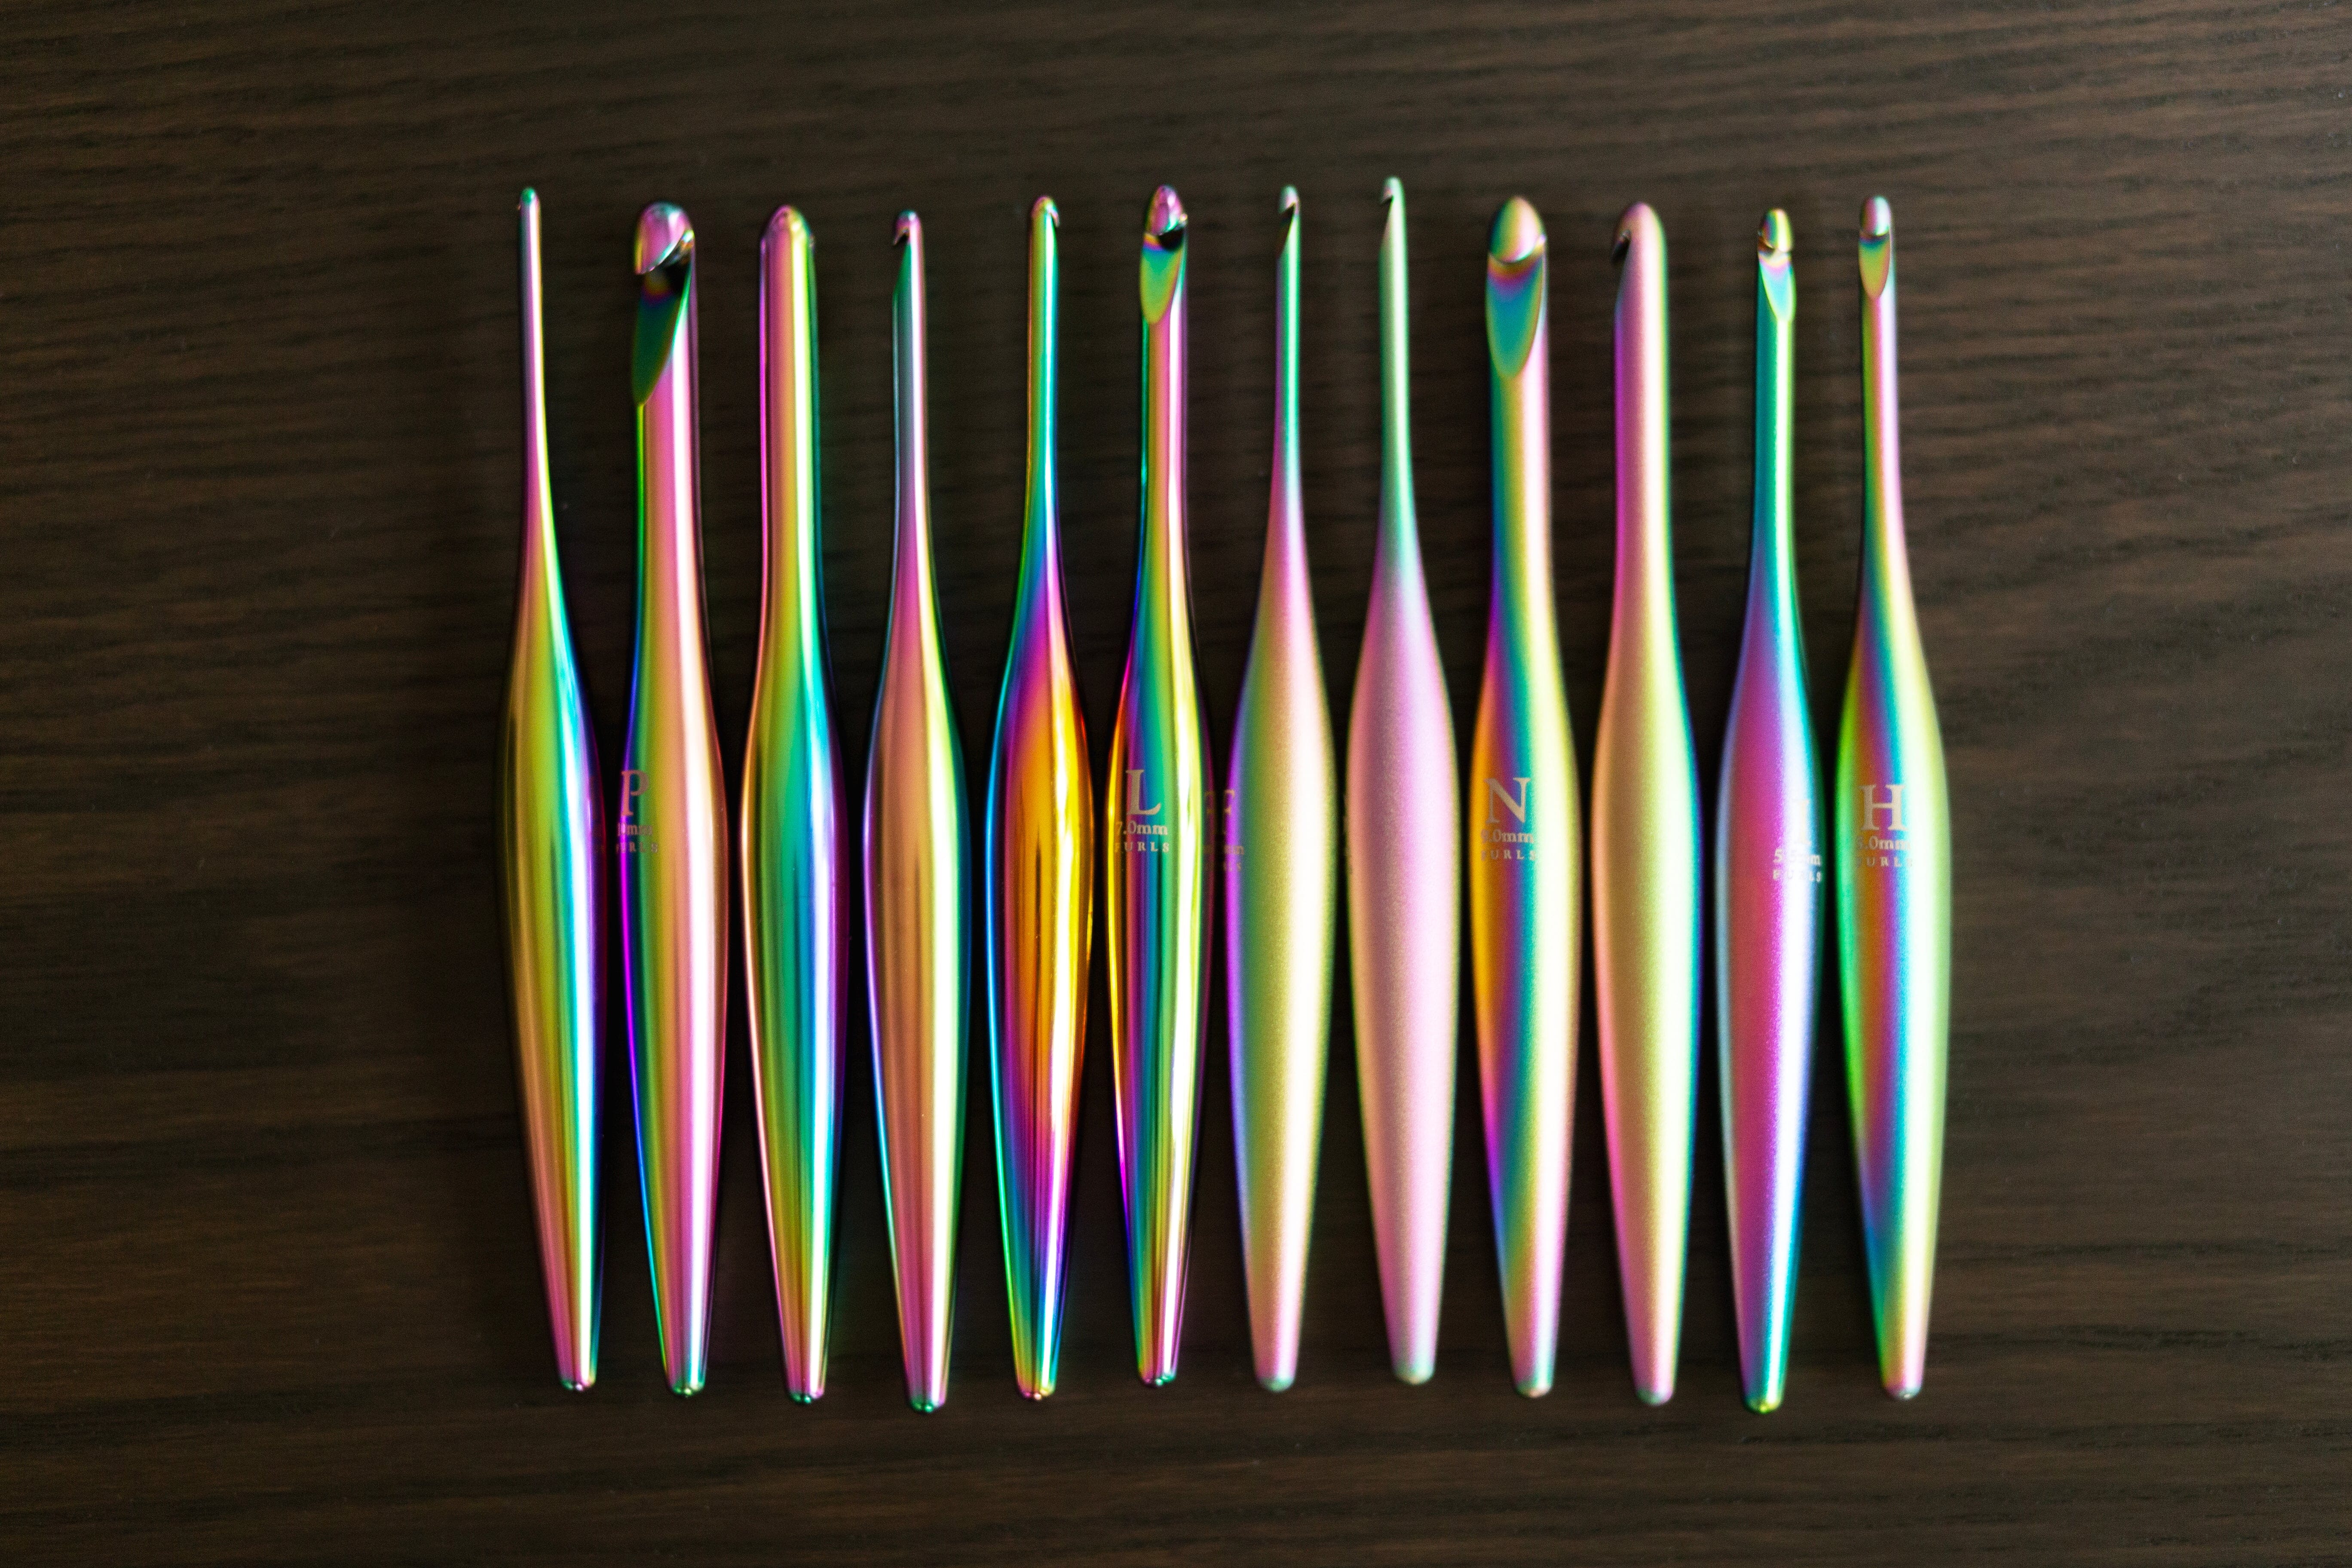
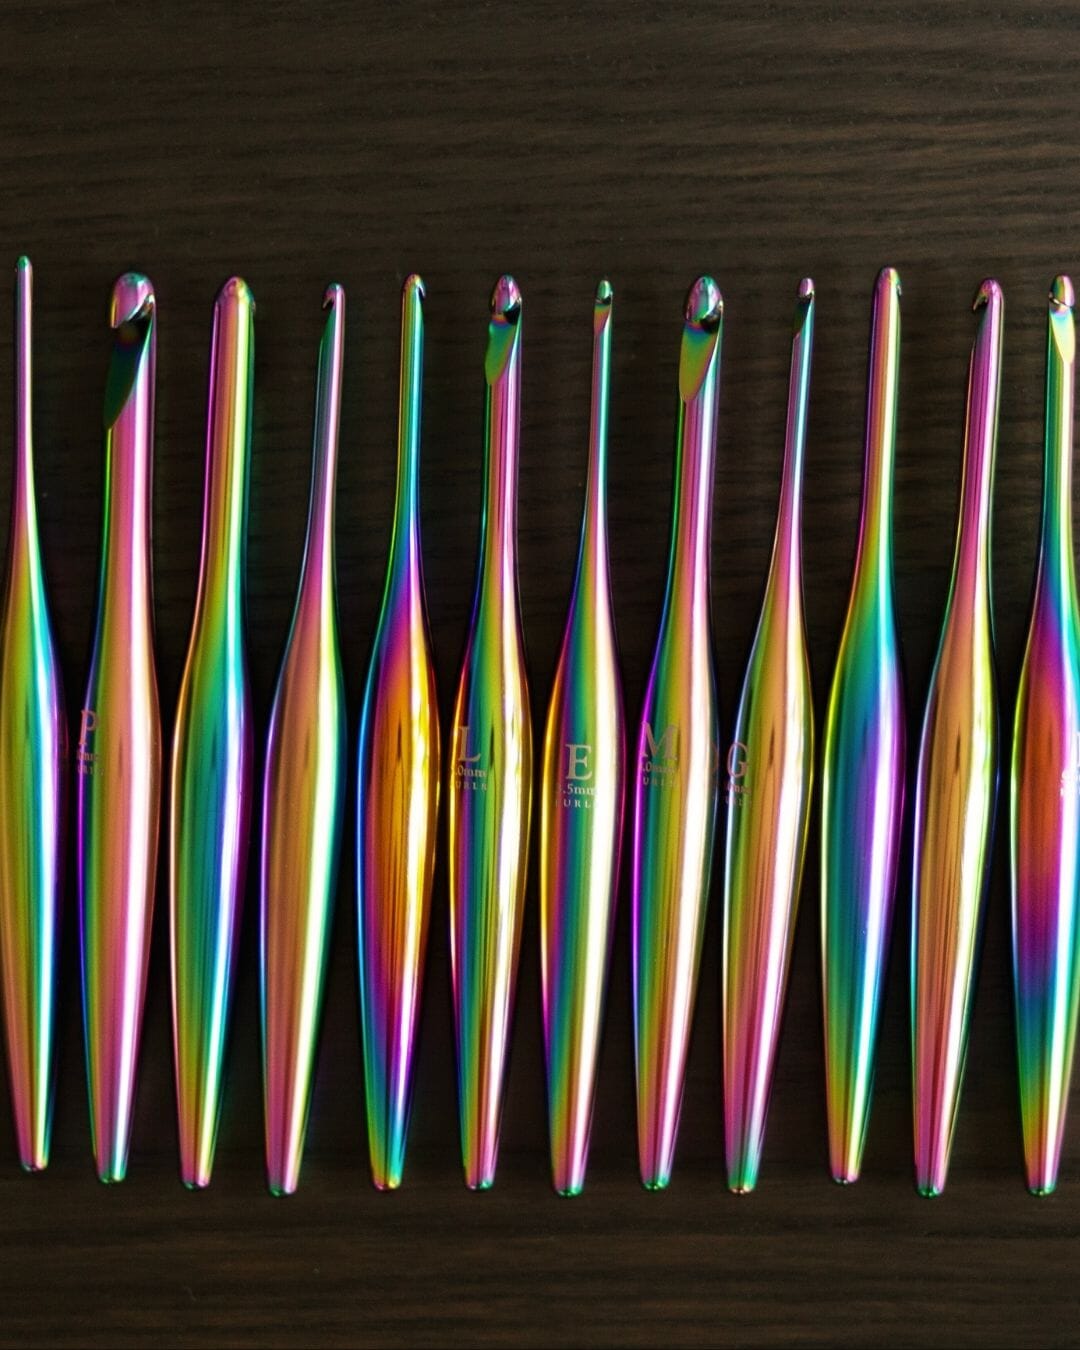
- Crochet Hook: Furls US – N, 9.0mm crochet hook (Tamara used a discontinued Candy Shoppe in the videos)
- Tapestry needle to weave in your ends.
- Scissors

Before You Begin: Checking Gauge
When crocheting garments or wearable, gauge can be super important. But with blankets, it's not as big a deal - there's just a lot more wiggle room! The most important thing is that you get fabric coming off the hook that's not too loose or too tight. You don't want a blanket that's full of giant holes, but you also don't want one that's stiff as a board!
The official gauge for this blanket is 16 sts x 9 rows = 8” in dc. So if you want to test it out, crochet a swatch that is about 12" x 12" square, and measure the interior 8 inches. If it's close, you're good to go! Otherwise, you may want to try moving up or down a hook size.

Sizing
If you get gauge, or close to it, the finished blanket should be about 55” wide x 66” long.
If you want your blanket to be a bit wider, just add a multiple of 6 chains to the starting chain. (So add 6, 12, 18, etc.) If you want it a bit longer, just work another repeat! But remember, if you add width or length, you'll need more yarn. This is also what you'll want to do if you are using thinner yarn.
If you want a your blanket to be a bit smaller, just subtract a multiple of 6 chains from the starting chain. And for a shorter blanket, stop sooner! This will of course take a bit less yarn.
LET'S GET STARTED
If you have any questions with the CAL, please feel free to email me at TamaraKelly@mooglyblog.com.
PATTERN INTRUCTIONS - PART ONE
(see notes below for 2 color version!)
Special stitch: fpdtr – yo 3 times, insert hook from front to back around post of indicated stitch, yo and pull up a loop, [yo and pull through 2 loops] 4 times.
Row 1: Ch 111, dc in the 4th ch from the hook (skipped 3 chs count as first dc), dc in each remaining ch to end; turn. (109 sts)
Row 2 – 3: Ch 3 (counts as first dc here and throughout), dc in each st to end; turn. (109 sts)
Row 4: Ch 1, sc in the 1st st, *fpdtr in the stitch 3 sts to the left and 2 rows down, sc in the next 3 sts, fpdtr in the same st as the previous fpdtr st, sc in the next st; repeat from * to end, turn. (109 sts)
Row 5 – 7: Ch 3 (counts as first dc here and throughout), dc in each st to end; turn. (109 sts)
Row 8 – 91: Repeat Rows 4 – 7.
Row 92 and 93: Repeat Rows 4 and 5.

Two Color Version:
Row 1 – 3: Color A
Row 4 – 7: Color B
Row 8 – 11: Color A
Row 12 – 15: Color B
Row 16 – 91: Continue in color pattern established in Rows 8 - 15, switching colors every 4 rows.
Row 92 and 93: Color A.
Front Post Double Treble Crochet Tutorial
Next we will be finishing our blanket by crocheting the border - and then we're done!

PART TWO: THE BORDER
If you are making the one color version, keep using that color for the border. If you are making the 2 color version, I recommend making the border in Color A. Alternatively, it would be fun to make the main portion of the blanket in one color, and the border in a second color - get creative, and make it your own!
Border Round 1: Ch 1, sc in 1st st, *ch 2, skip 2 sts, sc in next st; repeat from * to end of last row, work 2 more sc in last st, turning to work along the side, [ch 2, sc] 3 times for every 4 rows across to end, work 2 more sc in last st/base of 1st st of bottom of blanket, turning to work along the foundation chain, ^ch 2, skip 2 sts, sc in next st; repeat from ^ to end of foundation chain/base of blanket, work 2 more sc in last st, turning to work along the last side, [ch 2, sc] 3 times for every 4 rows across to end, work 2 more sc in same st as 1st st of the Round; join. (36 ch-2 loops on top and bottom, 70 ch-2 loops along each side = 212 ch-2 loops total)
Border Round 2: Ch 1, sc in 1st st, *ch 2, sc in next ch-2 sp, ch 2, sc in next sc; repeat from * to corner, (ch 2, sc, ch 2, sc) in center sc st of corner, ch 2, sc in next st, [ch 2, sc in next ch-2 sp] across to corner, sc in next sc st, (ch 2, sc, ch 2, sc) in center sc st of corner, ch 2^, sc in next sc st; repeat from * to ^, join and break yarn. (72 ch-2 loops on top and bottom, 71 ch-2 loops along each side = 286 ch-2 loops total)
Border
Finishing and Weaving In
And now you have your very own Snow Capped Throw! It has been so much fun sharing this pattern here on Furls, and I hope you've enjoyed it as well. I'm a huge Furls fan, and I know you all are too, and it's been so great getting to know you all and see your projects here and in the Facebook group. Thank you all so very much for joining me for this CAL, and I hope you'll stop by Moogly sometime and say hello! - Tamara
About the Designer:
Hello there! I'm Tamara Kelly, designer/blogger/author/chief yarn sniffer at Moogly, where I share lots of free crochet patterns, video tutorials, giveaways, and other yarny goodies. This pattern is from my book, Quick Crochet for the Home, and I can't think of any better way to celebrate that than to share an exclusive new blanket pattern here on Furls - after all, I used Furls hooks when designing the patterns for my book!